Spring Boot Tutorial
Welcome to our Spring Boot tutorial. In this tutorial, we will show you how to set up a simple celebrity lookup API.
Set up VS Code and Docker
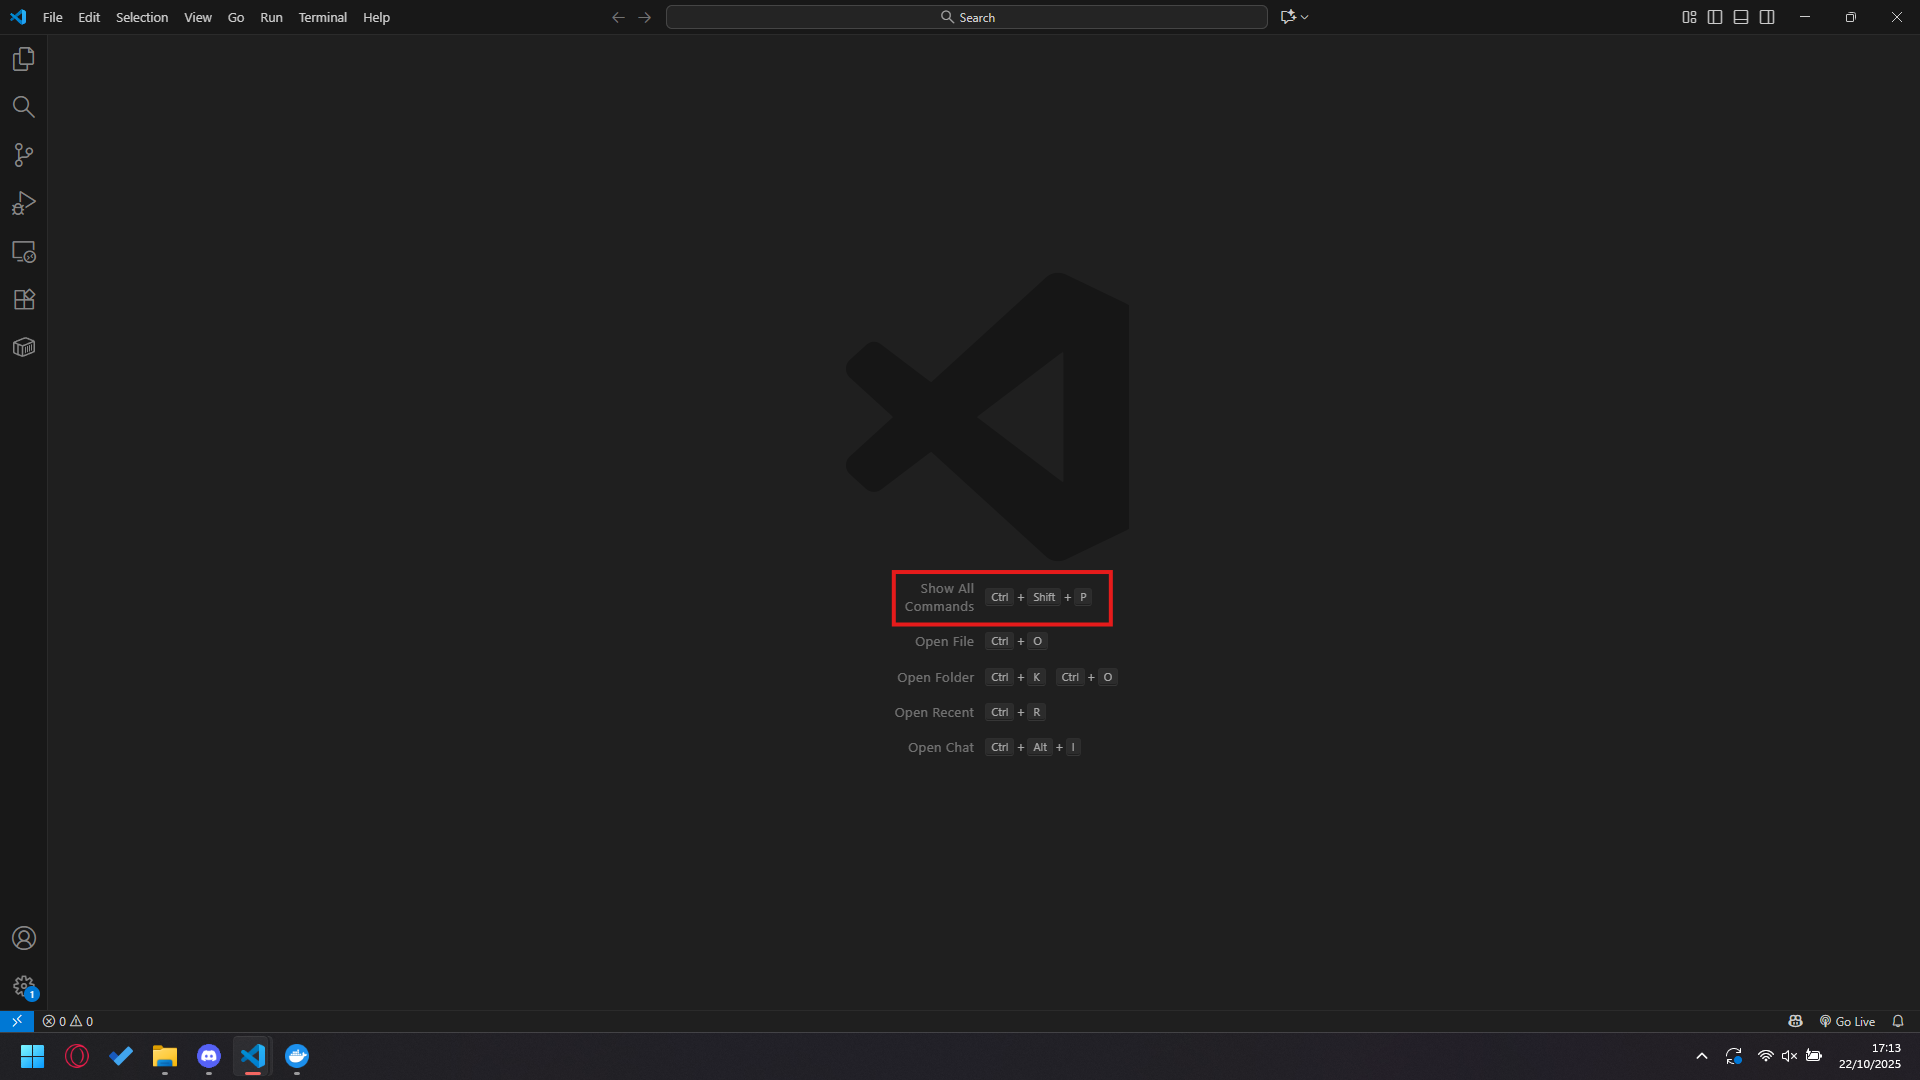
To start with, we will set up a Docker container in VS Code. With an empty window, press Ctrl + Shift + P at the same time.
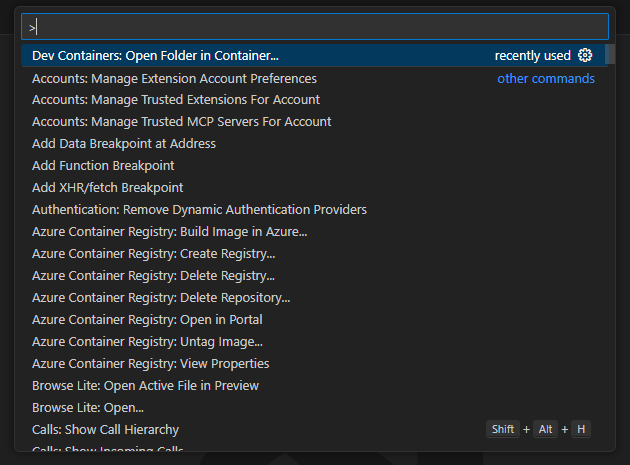
Search for “dev” and select Dev Containers: Open folder in container.
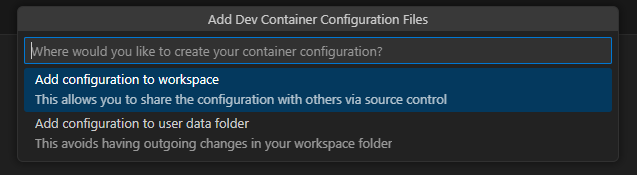
Select Add configuration to workspace.
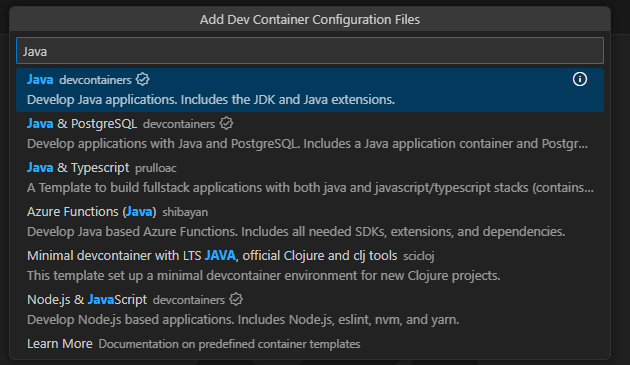
Search for Java and select it.
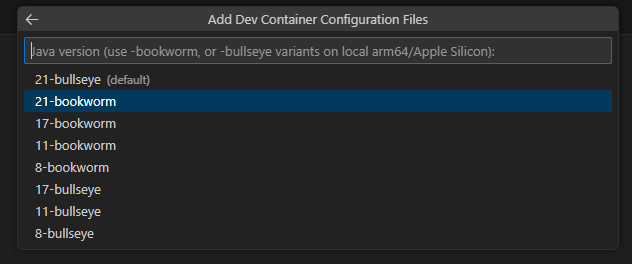
Select 21-bookworm.
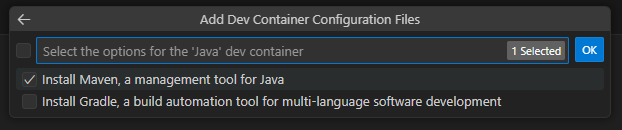
With Spring Boot, you can use both Maven and Gradle, but for this demo, we will use Maven.
Set up Spring Boot
Now that Docker is set up, let’s set up Spring Boot. Go to Spring Initializr.
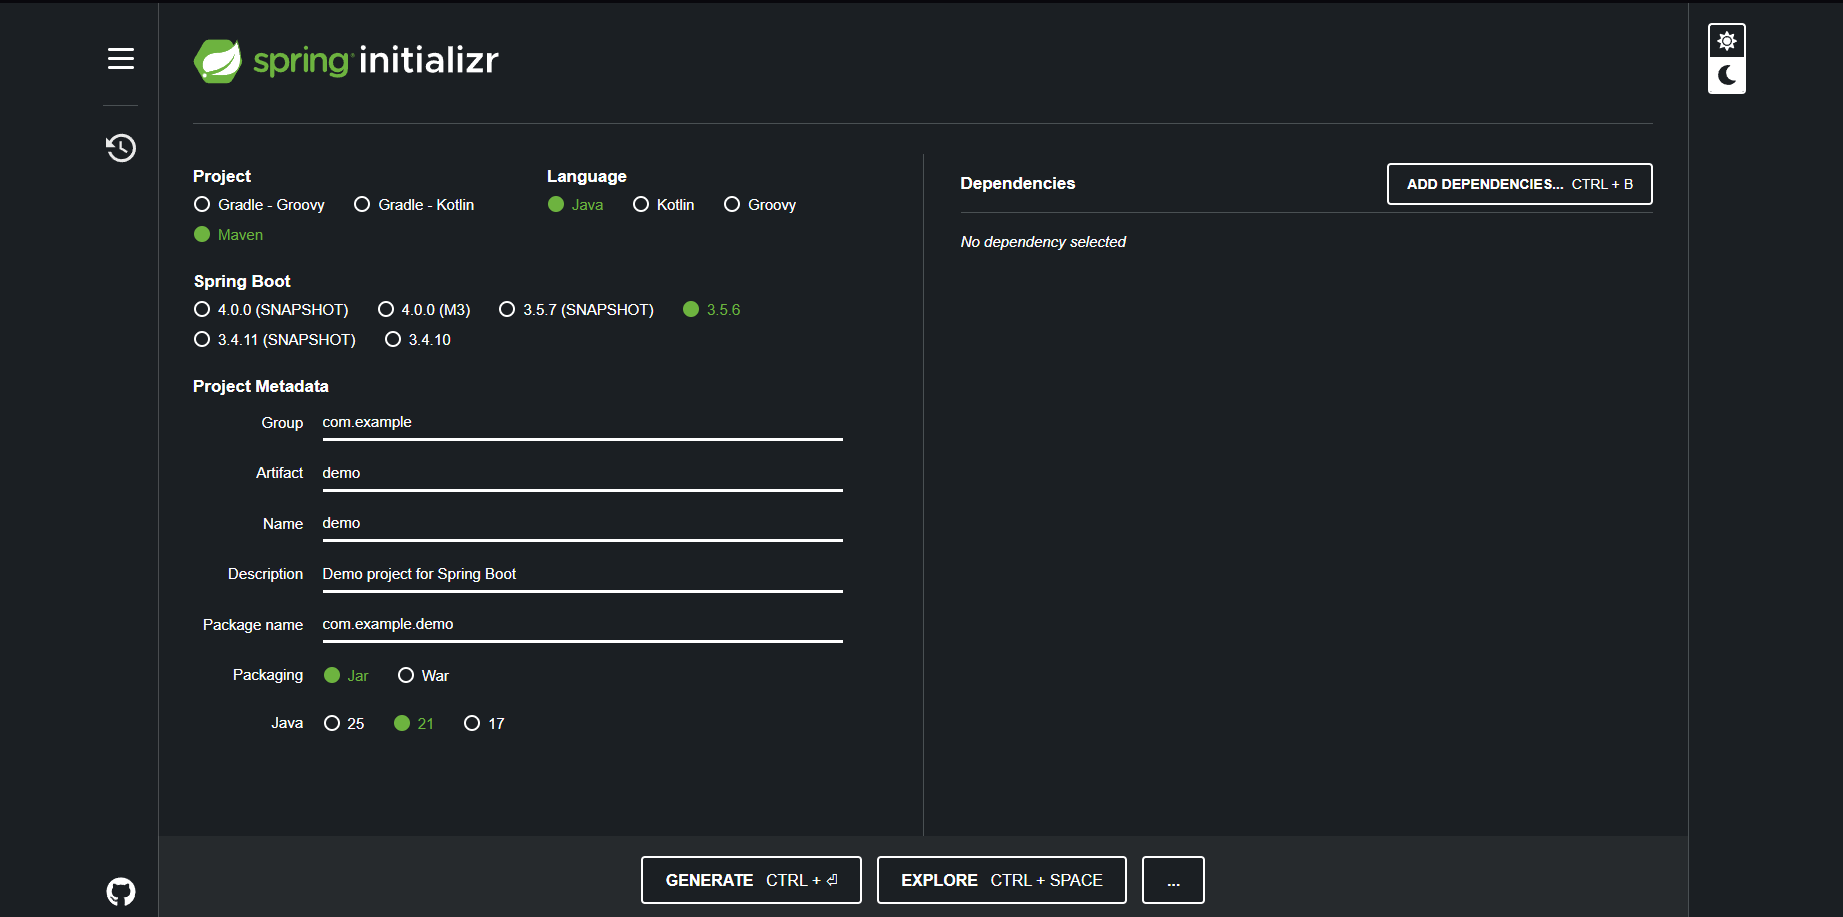
To ensure Spring Boot loads properly, use the following settings:
- Project: Maven
- Language: Java
- Spring Boot: 3.5.6
- Java: 21 (Important)
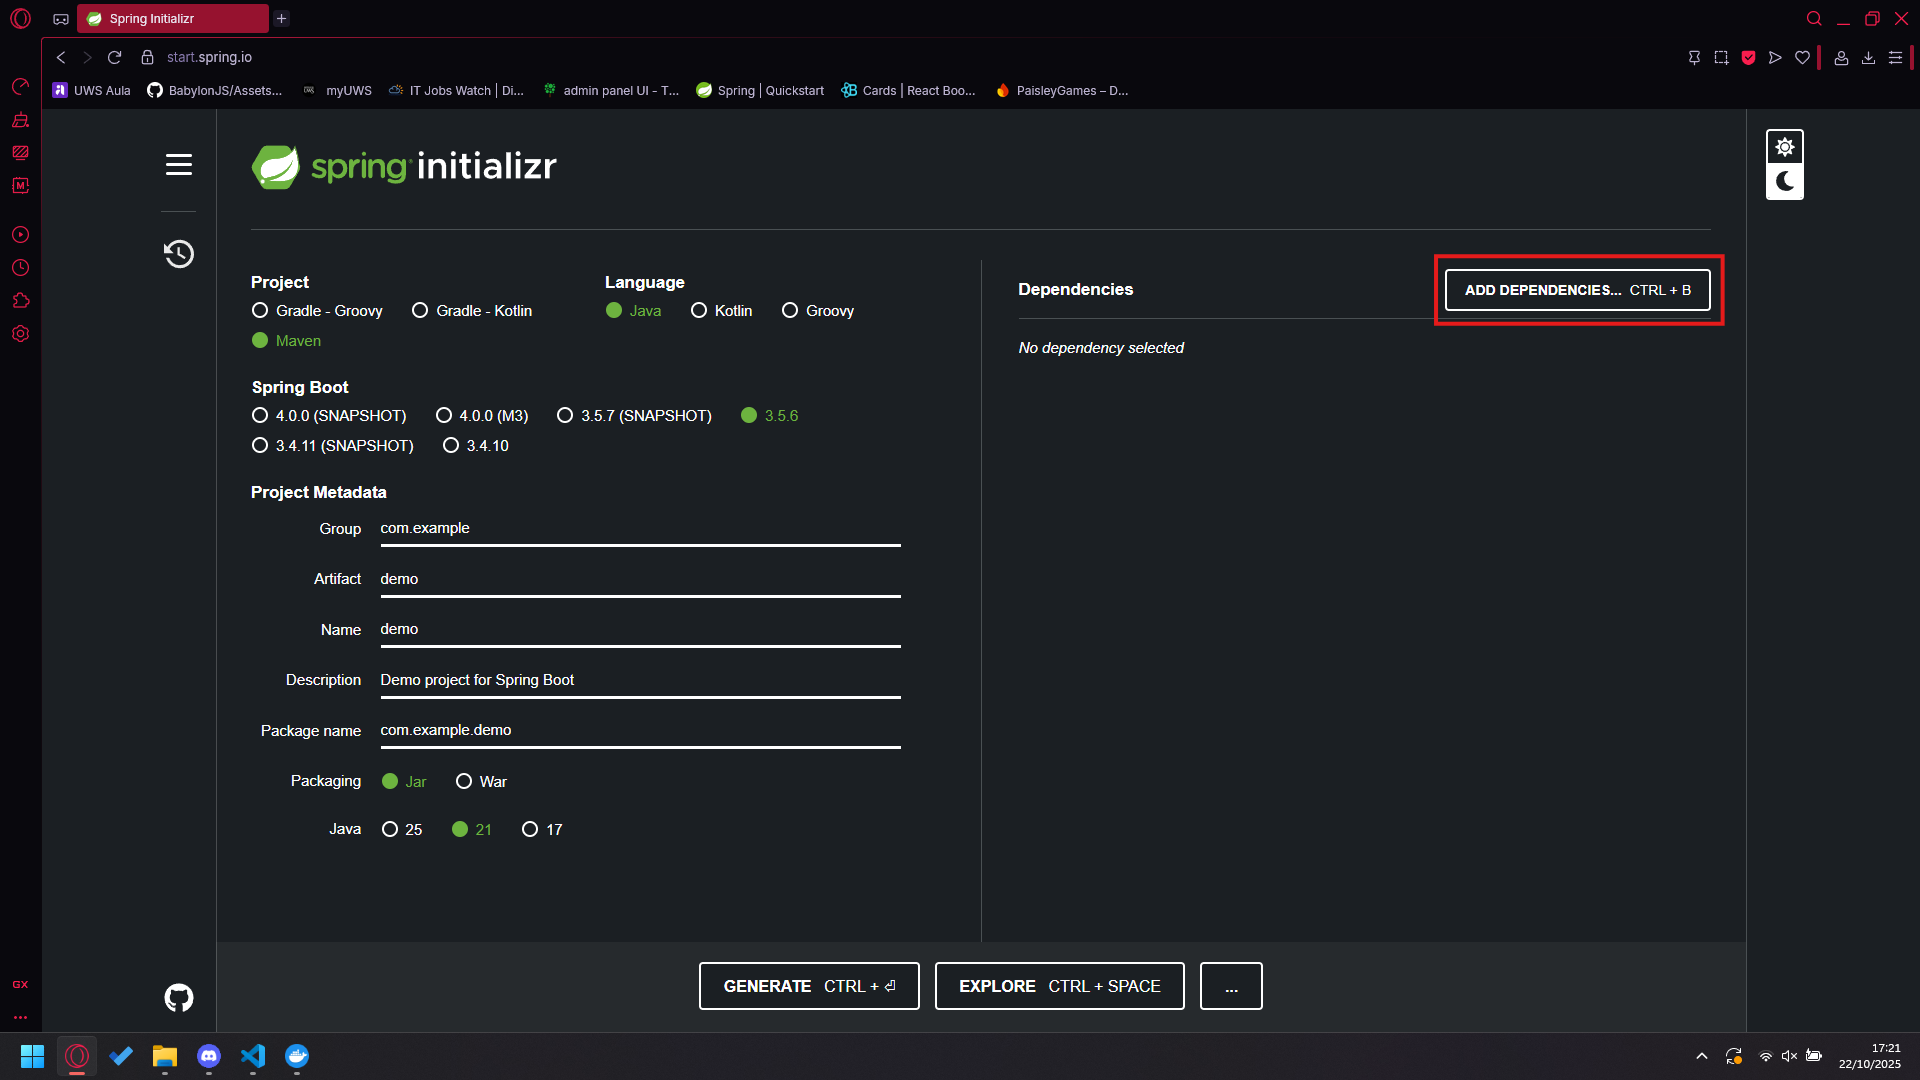
Once you have selected the correct options, go ahead and add dependencies.
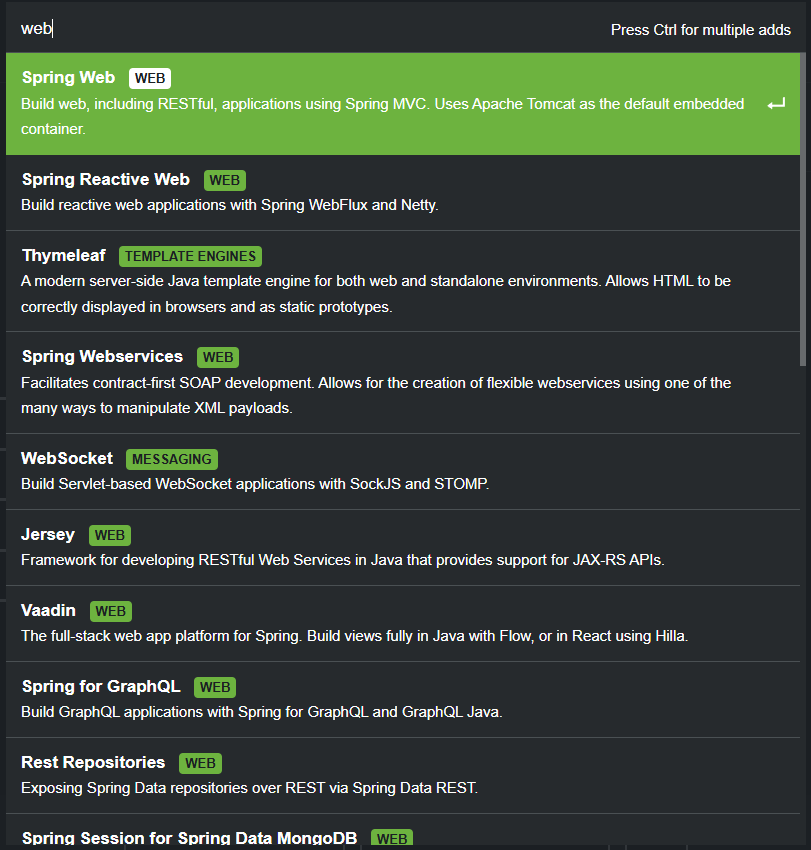
Search for Web, select Spring Web, and add it to your dependencies.
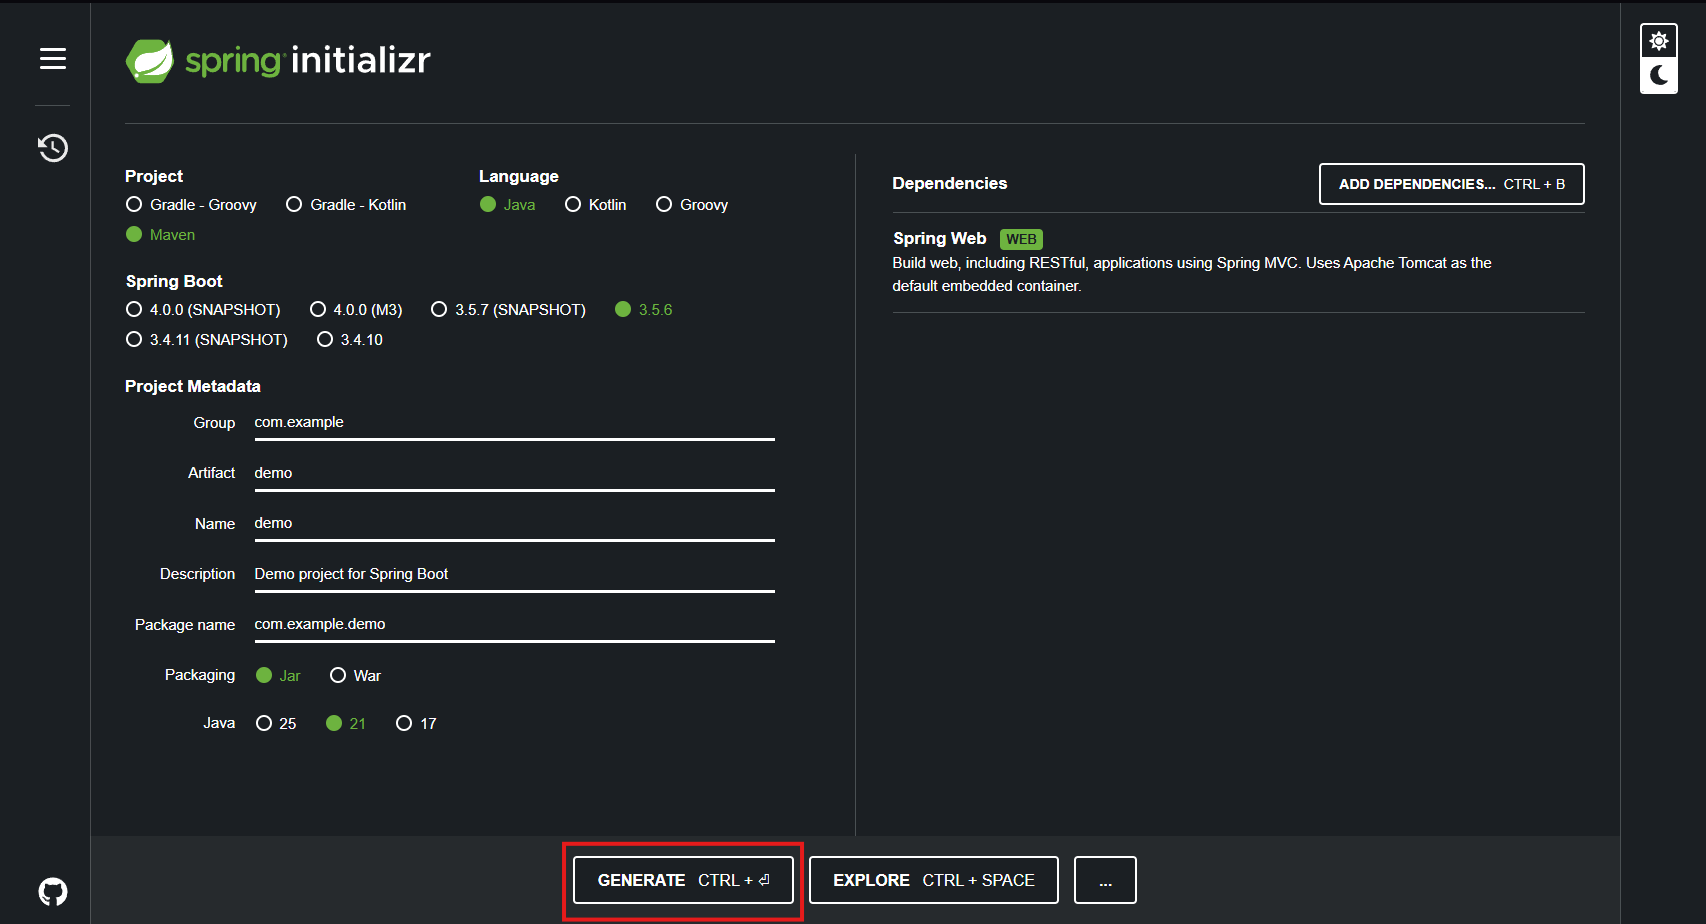
Select Generate, and it will create a .zip folder.
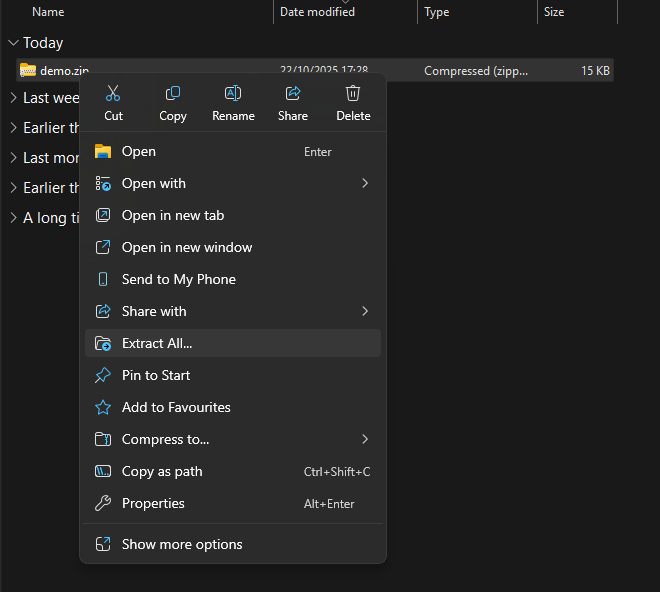
Navigate to where you saved the .zip file and extract it.
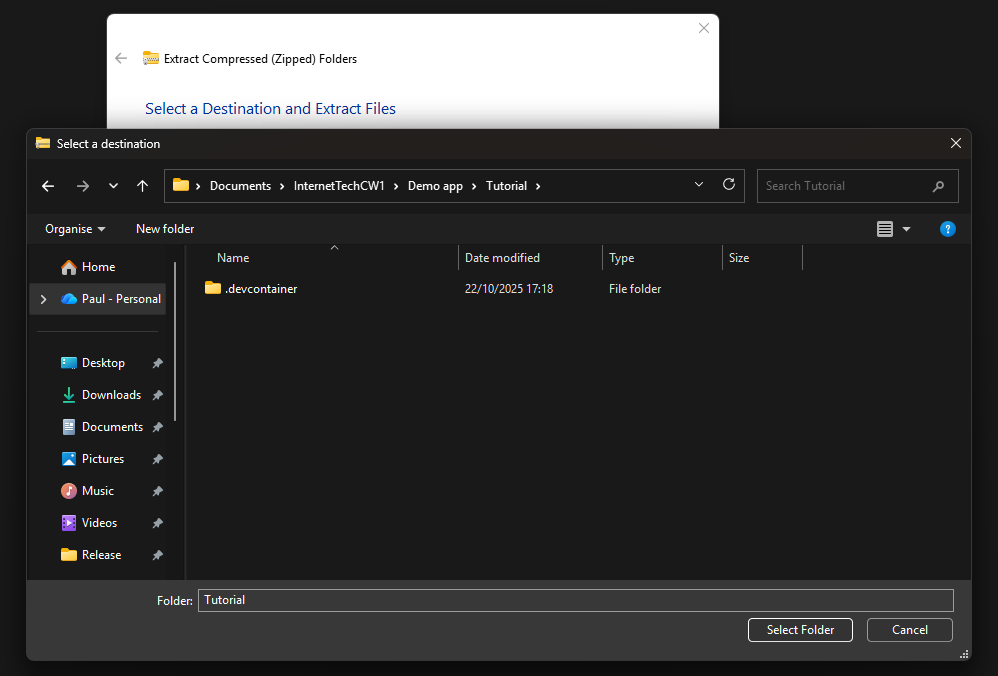
You’ll want to extract it to the folder you opened the container in (outside the .devcontainer folder).
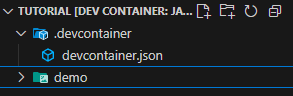
If you open VS Code back up, you will notice a new folder — go ahead and open it.
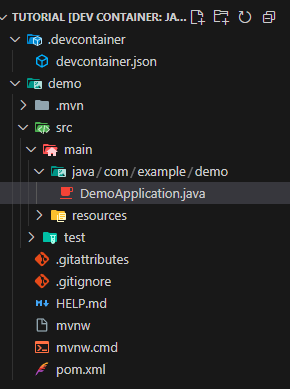
Navigate to src > main > java > com > example > demo and open the DemoApplication.java file.

Underneath the current imports, add imports for the following:
import org.springframework.web.bind.annotation.CrossOrigin;
import org.springframework.web.bind.annotation.GetMapping;
import org.springframework.web.bind.annotation.RequestMapping;
import org.springframework.web.bind.annotation.RequestParam;
import org.springframework.web.bind.annotation.RestController;
import java.util.*;
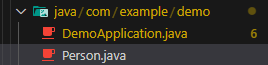
Next, create a Person class. In the same folder as DemoApplication.java, create a new file and call it Person.java.
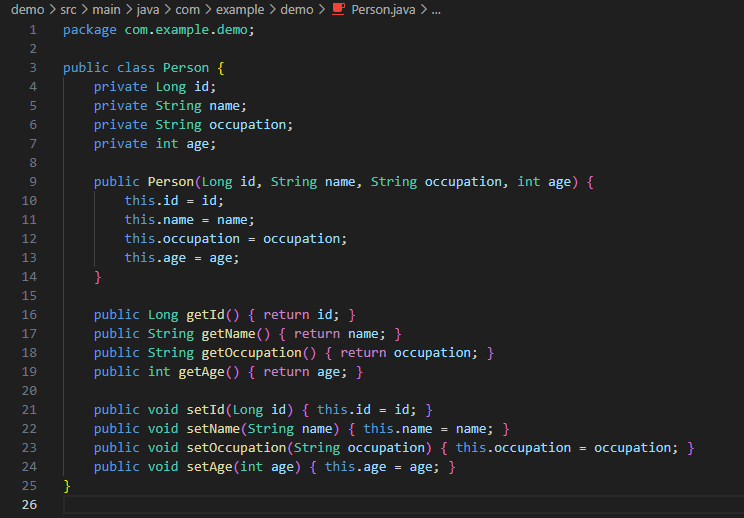
Inside this file, declare the elements (variables) that make up a person:
public class Person {
    private Long id;
    private String name;
    private String occupation;
    private int age;
    private String image;

    public Person(Long id, String name, String occupation, int age, String image) {
        this.id = id;
        this.name = name;
        this.occupation = occupation;
        this.age = age;
        this.image = image;
    }

    public Long getId() { return id; }
    public String getName() { return name; }
    public String getOccupation() { return occupation; }
    public int getAge() { return age; }
    public String getImage() { return image; }

    public void setId(Long id) { this.id = id; }
    public void setName(String name) { this.name = name; }
    public void setOccupation(String occupation) { this.occupation = occupation; }
    public void setAge(int age) { this.age = age; }
    public void setImage(String image) { this.image = image; }
}

Once this is done, go back to DemoApplication.java and remove the @SpringBootClass annotation — we will use this elsewhere later.

Replace it with the following:
@RestController
@RequestMapping("/api/people")
@CrossOrigin(origins = "*") // allows HTML/JS to access API
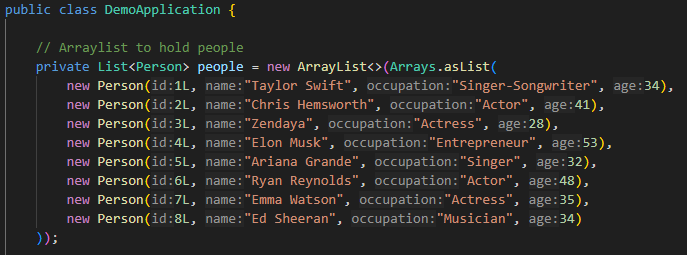
Now add an ArrayList of celebrities for the API to search through:
// Arraylist to hold people
private List<Person> people = new ArrayList<>(Arrays.asList(
    new Person(1L, "Taylor Swift", "Singer-Songwriter", 34, "taylor.jpg"),
    new Person(2L, "Chris Hemsworth", "Actor", 41, "hemsworth.jpg"),
    new Person(3L, "Zendaya", "Actress", 28, "zendaya.jpg"),
    new Person(4L, "Elon Musk", "Entrepreneur", 53, "musk.jpg"),
    new Person(5L, "Ariana Grande", "Singer", 32, "grande.jpg"),
    new Person(6L, "Ryan Reynolds", "Actor", 48, "reynolds.jpg"),
    new Person(7L, "Emma Watson", "Actress", 35, "watson.jpg"),
    new Person(8L, "Ed Sheeran", "Musician", 34, "sheeran.jpg")
));
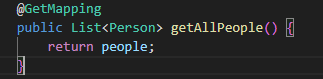
Add a getAllPeople function:
public List<Person> getAllPeople() {
    return people;
}
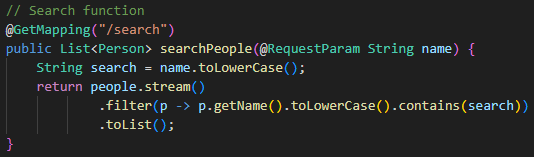
Now add the main search function:
// Search function
@GetMapping("/search")
public List<Person> searchPeople(@RequestParam String name) {
    String search = name.toLowerCase();
    return people.stream()
        .filter(p -> p.getName().toLowerCase().contains(search))
        .toList();
}
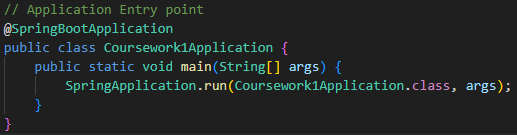
In the code, find the section public static void main and replace it with:
// Application Entry point
@SpringBootApplication
public class Coursework1Application {
    public static void main(String[] args) {
        SpringApplication.run(Coursework1Application.class, args);
    }
}
Once complete, your full DemoApplication.java should look like this:
package com.example.demo;

import org.springframework.boot.SpringApplication;
import org.springframework.boot.autoconfigure.SpringBootApplication;
import org.springframework.web.bind.annotation.CrossOrigin;
import org.springframework.web.bind.annotation.GetMapping;
import org.springframework.web.bind.annotation.RequestMapping;
import org.springframework.web.bind.annotation.RequestParam;
import org.springframework.web.bind.annotation.RestController;
import java.util.*;

@RestController
@RequestMapping("/api/people")
@CrossOrigin(origins = "*") // allows HTML/JS to access API
public class DemoApplication {

    private List<Person> people = new ArrayList<>(Arrays.asList(
        new Person(1L, "Taylor Swift", "Singer-Songwriter", 34, "taylor.jpg"),
        new Person(2L, "Chris Hemsworth", "Actor", 41, "hemsworth.jpg"),
        new Person(3L, "Zendaya", "Actress", 28, "zendaya.jpg"),
        new Person(4L, "Elon Musk", "Entrepreneur", 53, "musk.jpg"),
        new Person(5L, "Ariana Grande", "Singer", 32, "grande.jpg"),
        new Person(6L, "Ryan Reynolds", "Actor", 48, "reynolds.jpg"),
        new Person(7L, "Emma Watson", "Actress", 35, "watson.jpg"),
        new Person(8L, "Ed Sheeran", "Musician", 34, "sheeran.jpg")
    ));

    @GetMapping
    public List<Person> getAllPeople() {
        return people;
    }

    @GetMapping("/search")
    public List<Person> searchPeople(@RequestParam String name) {
        String search = name.toLowerCase();
        return people.stream()
            .filter(p -> p.getName().toLowerCase().contains(search))
            .toList();
    }

    @SpringBootApplication
    public class Coursework1Application {
        public static void main(String[] args) {
            SpringApplication.run(Coursework1Application.class, args);
        }
    }
}
Frontend Setup
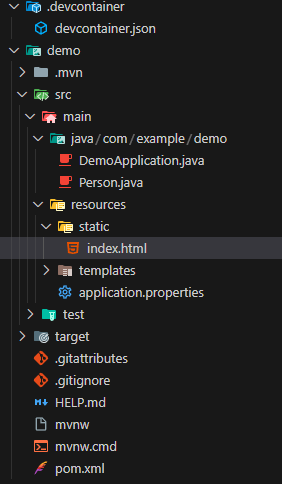
Now that we have our Java logic set up, we will create a frontend to use the API. Navigate to resources > static and create an index.html file.
Inside the file, create a simple HTML structure:
<!DOCTYPE html>
<html lang="en">
<head>
<meta charset="UTF-8">
<title>Celebrity Lookup</title>
</head>
<body>
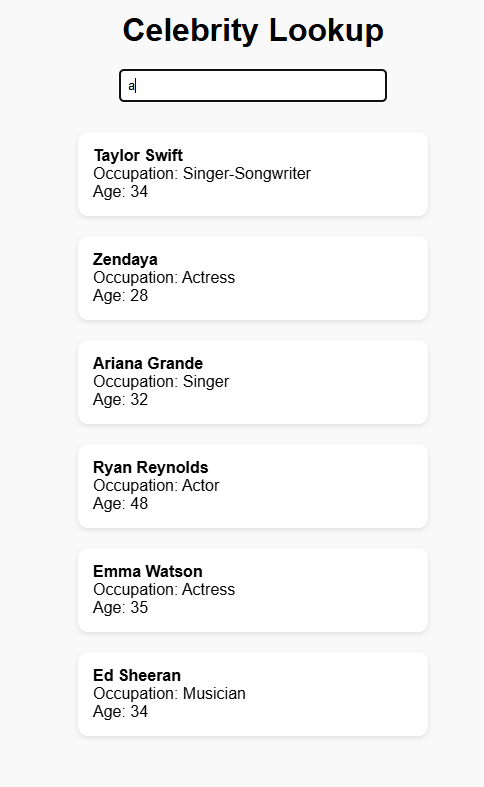
<h1>Celebrity Lookup</h1>
<input type="text" id="searchBox" placeholder="Type a name...">
<div id="results"></div>
</body>
</html>
The input field acts as the search box, and the div with id results will display search results. Next, add the following styles inside the <head> tags:
<style>
  body {
    font-family: Arial, sans-serif;
    margin: 40px;
    background: #f9f9f9;
  }

  h1 {
    text-align: center;
    margin-bottom: 20px;
  }

  input {
    padding: 8px;
    width: 250px;
    margin-bottom: 20px;
    display: block;
    margin-left: auto;
    margin-right: auto;
    border: 1px solid #ccc;
    border-radius: 4px;
  }

  .person {
    background: white;
    border-radius: 10px;
    box-shadow: 0 2px 5px rgba(0, 0, 0, 0.1);
    margin: 10px auto;
    padding: 15px;
    width: 320px;
    display: flex;
    align-items: center;
    justify-content: space-between;
  }

  .person-info {
    flex-grow: 1;
  }

  #results {
    display: flex;
    flex-direction: column;
    align-items: center;
  }
</style>
Next, add the following JavaScript inside the <body> tags, below the <div>:
<script>
  const searchBox = document.getElementById('searchBox');
  const resultsDiv = document.getElementById('results');

  searchBox.addEventListener('input', async () => {
    const query = searchBox.value.trim();
    if (!query) {
      resultsDiv.innerHTML = '';
      return;
    }

    const response = await fetch(`/api/people/search?name=${encodeURIComponent(query)}`);
    const people = await response.json();

    if (people.length === 0) {
      resultsDiv.innerHTML = '<p>No results found</p>';
      return;
    }

    const html = people.map(p => `
      <div class="person">
        <div class="person-info">
          <strong>${p.name}</strong><br>
          Occupation: ${p.occupation}<br>
          Age: ${p.age}
        </div>
      </div>
    `).join('');

    resultsDiv.innerHTML = html;
  });
</script>
Once done, your full HTML should look like this:
<!DOCTYPE html>
<html lang="en">
<head>
  <meta charset="UTF-8">
  <title>Celebrity Lookup</title>
  <style>
    body {
      font-family: Arial, sans-serif;
      margin: 40px;
      background: #f9f9f9;
    }

    h1 {
      text-align: center;
      margin-bottom: 20px;
    }

    input {
      padding: 8px;
      width: 250px;
      margin-bottom: 20px;
      display: block;
      margin-left: auto;
      margin-right: auto;
      border: 1px solid #ccc;
      border-radius: 4px;
    }

    .person {
      background: white;
      border-radius: 10px;
      box-shadow: 0 2px 5px rgba(0, 0, 0, 0.1);
      margin: 10px auto;
      padding: 15px;
      width: 320px;
      display: flex;
      align-items: center;
      justify-content: space-between;
    }

    .person-info {
      flex-grow: 1;
    }

    #results {
      display: flex;
      flex-direction: column;
      align-items: center;
    }
  </style>
</head>
<body>
  <h1>Celebrity Lookup</h1>
  <input type="text" id="searchBox" placeholder="Type a name...">
  <div id="results"></div>

  <script>
    const searchBox = document.getElementById('searchBox');
    const resultsDiv = document.getElementById('results');

    searchBox.addEventListener('input', async () => {
      const query = searchBox.value.trim();
      if (!query) {
        resultsDiv.innerHTML = '';
        return;
      }

      const response = await fetch(`/api/people/search?name=${encodeURIComponent(query)}`);
      const people = await response.json();

      if (people.length === 0) {
        resultsDiv.innerHTML = '<p>No results found</p>';
        return;
      }

      const html = people.map(p => `
        <div class="person">
          <div class="person-info">
            <strong>${p.name}</strong><br>
            Occupation: ${p.occupation}<br>
            Age: ${p.age}
          </div>
        </div>
      `).join('');

      resultsDiv.innerHTML = html;
    });
  </script>
</body>
</html>
Running the App
In VS Code, open the console (Ctrl + ‘) and enter:
cd demo
Then, run:
./mvnw spring-boot:run
This will start the integrated Tomcat server and launch your app.
You should now be able to visit localhost:8080 and see your app in action.
If you get the error: Permissions denied (This is caused by copying files instad of direct extraction)
Run the command:
chmod +x mvnw
This will update the mvnw file with the correct permissions and allow it to run the server.